")

New knit rib stitches video tutorials alert – on my YouTube channel were added two new videos. These video tutorials show how to knit rib stitches for beginners and cover the most popular variations of it.
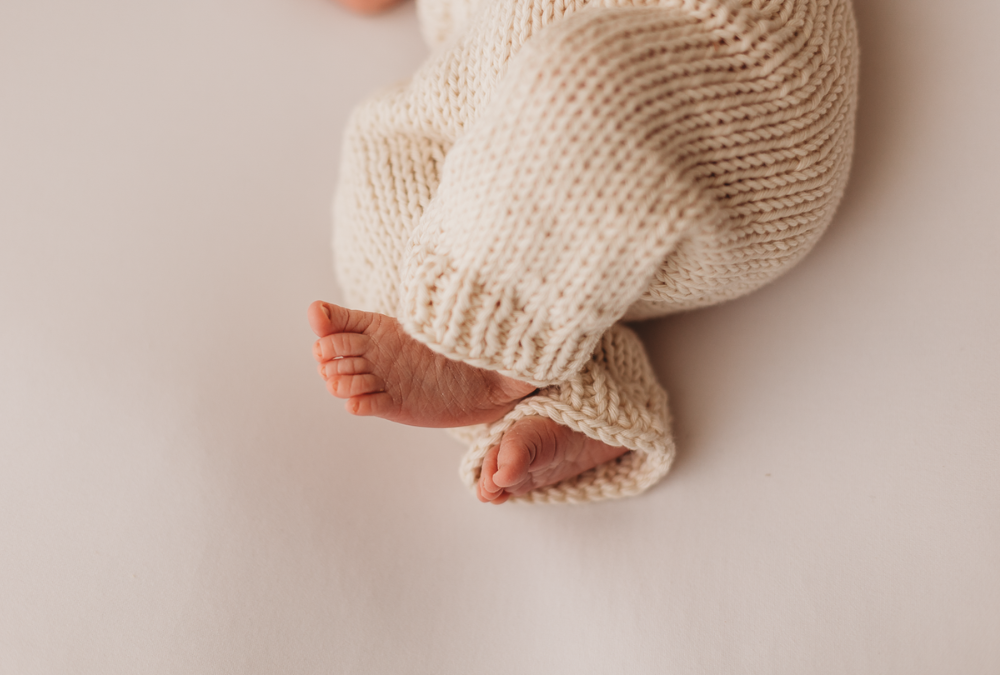
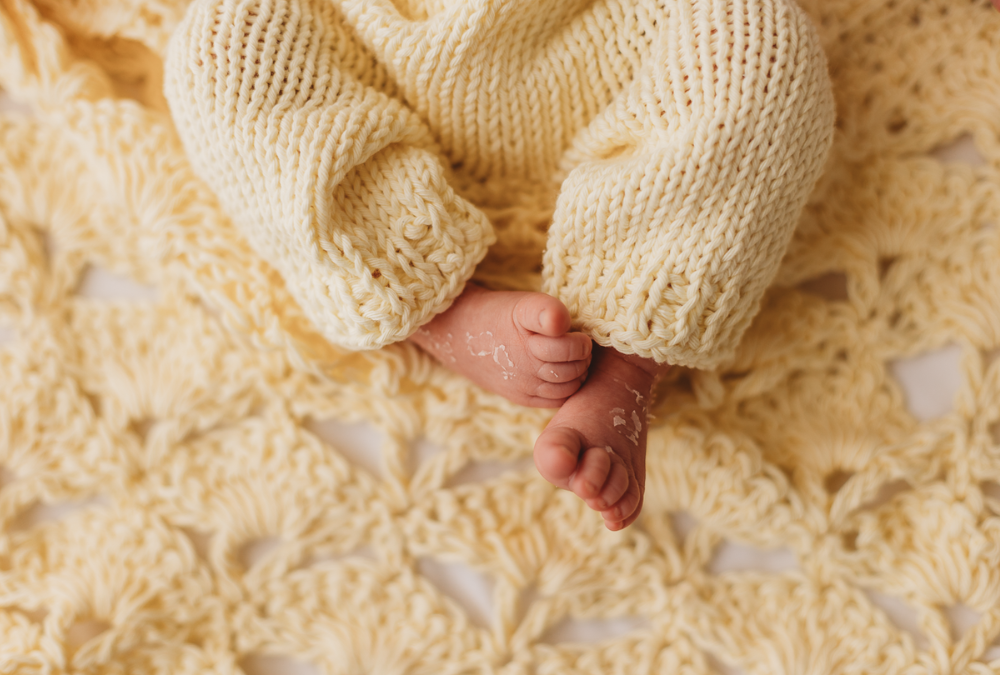
This stitch is perfect for cuffs, necklines, hat brims, and everywhere you want to create a beautiful textured “ribbed” design. Rib stitches add stretch and, at the same time, help to hold the shape of the garment.
There are many different types of knit rib stitches. Today I am sharing video tutorials for the most common and used ones.
Simple knit rib stitches
The simplest and most popular rib knit stitch is a 1×1 rib
It is knitted this way:
Right side: repeat *1 knit, 1 purl* stitches till the end of the row.
Wrong side: repeat “1 purl, 1 knit* stitches till the end of the row.
This is the tightest rib.
Another common rib stitch is a 2×2 rib
It is knitted this way:
Right side: repeat *2 knit, 2 purl* stitches till the end of the row.
Wrong side: repeat “2 purl, 2 knit* stitches till the end of the row.
This rib variation is slightly stretchier and more relaxed than the 1×1 rib.
You can combine knit and purl stitches in many other ways than above to create the rib effect: 2×1, 1×2, 3×2 etc.
Slip stitch rib
This type of rib looks very elegant as the knit stitch of the rib has a slightly elongated, neat form than the regular rib stitch.
The “secret” of this rib stitch is that on the wrong side, you work only purl stitches of your rib and slip the knit stitches without working them.
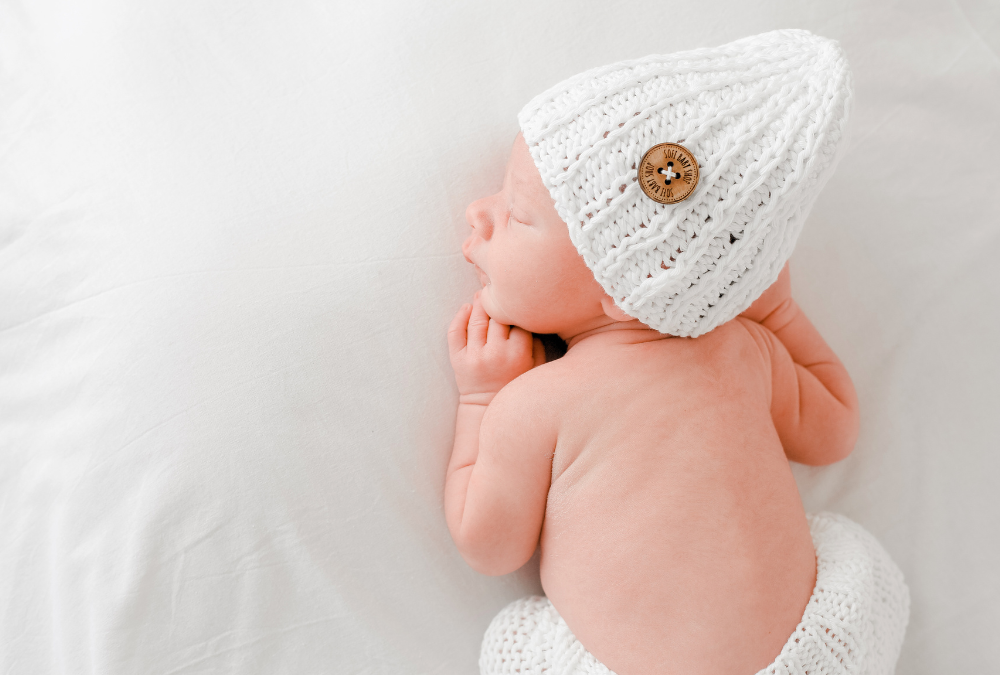
This kind of rib stitch I love to use for all types of cuffs and for beanie hats too. It looks very neat and adds additional texture to the knitted garment.
I hope these knit rib stitches video tutorials will help you learn basic rib stitches in no time 🙂
Let me know if you have questions in the comments below.
Leave a Reply
copyright 2026 sofie white designs | all rights reserved. CF zhdlgo76h54z139y

BE THE FIRST TO COMMENT